
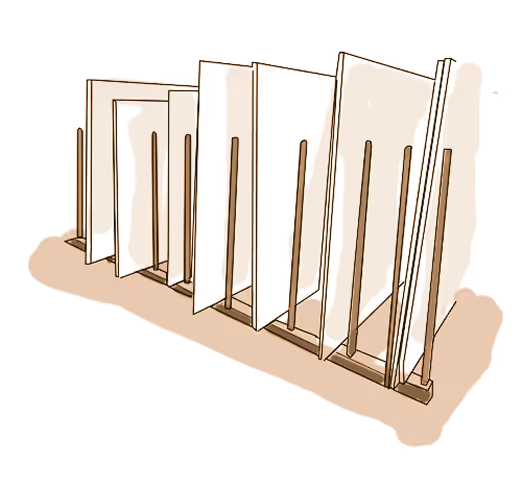
Add slabs to your wishlist so we can give you custom quote.
Add productions from our slab collection so we create a quote for your next project!
If you're unsure of what you're after please reach out via our contact page.
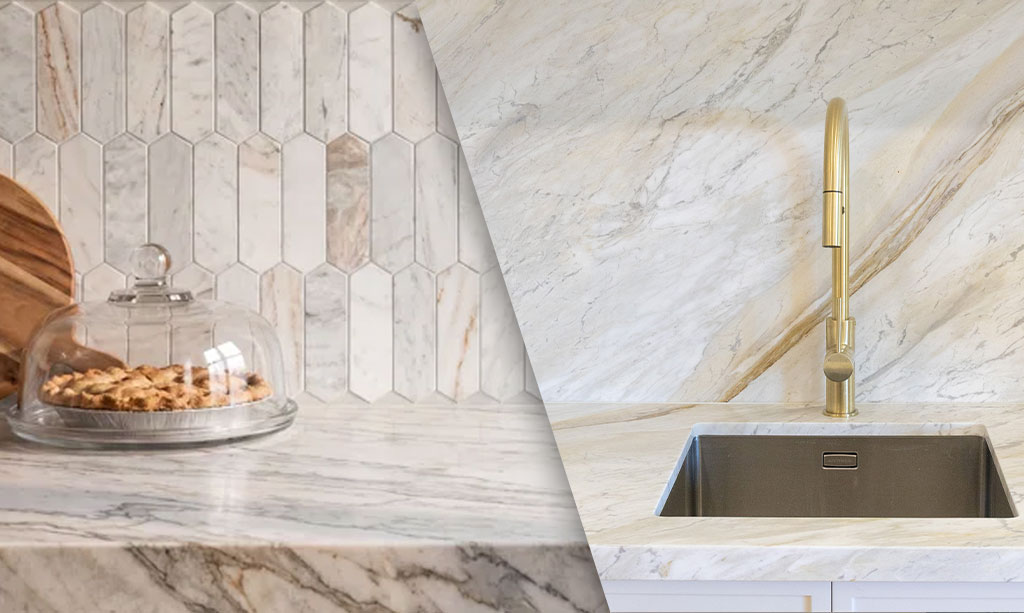
Stone Splashback vs Tiles: Full Slab Marble Splashbacks | Marble Hub Sydney
Full Slab Splashback vs Tiles, and What Changes When Stone Goes Up the Wall
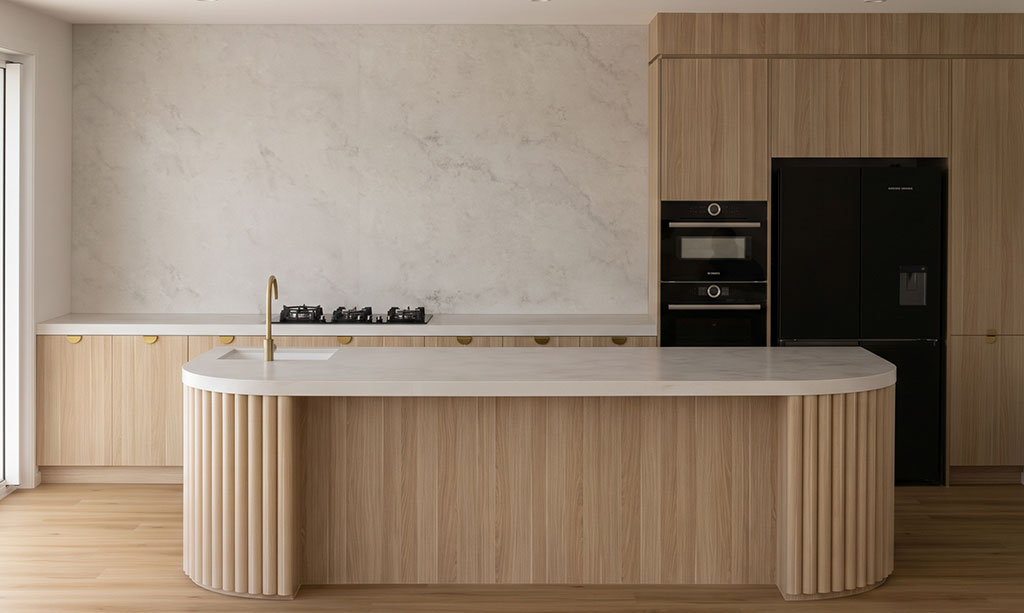
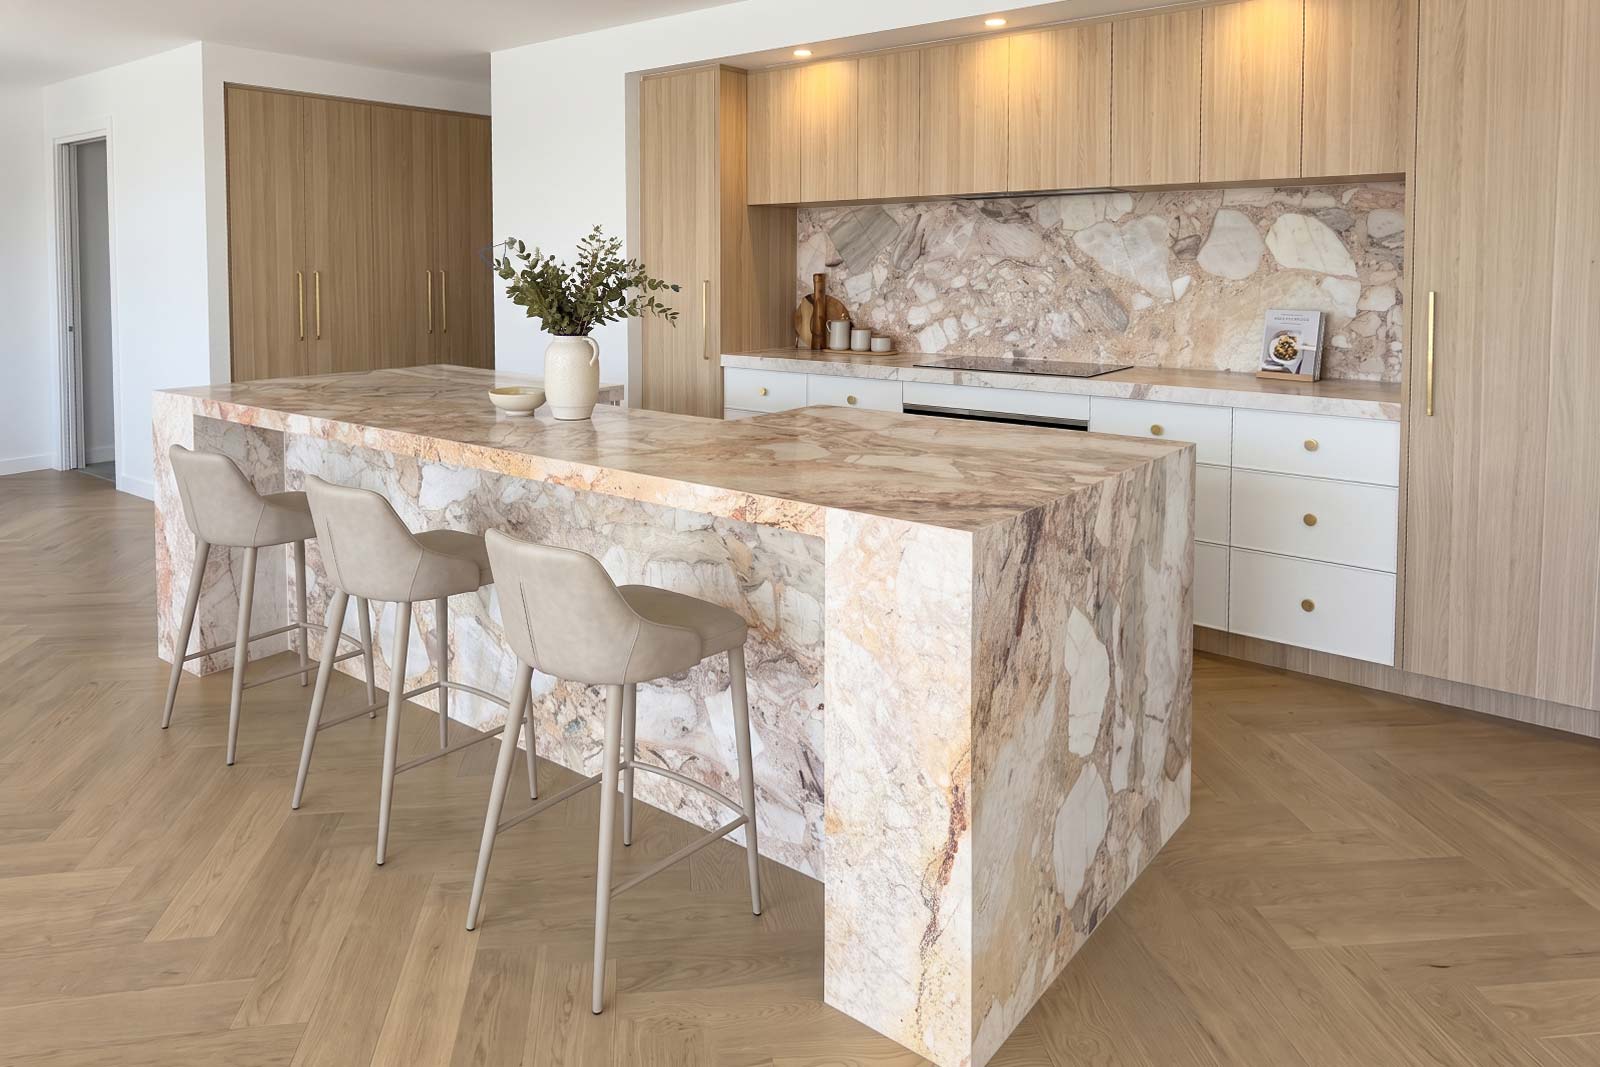
A full slab splashback takes the benchtop stone straight up the wall. The design becomes more cohesive and sleek, and the stone has far more impact on the wall than it can have on the benchtop alone. If you love your stone, it's usually the right call. It does need more planning than tiles: joins, windows, power points, clearances and access all need thinking through at quote stage.
Most people arrive at this decision late. The benchtop gets weeks of thought, and the splashback gets a quick look at a tile board in the final fortnight. That order is backwards. The splashback is the largest vertical surface in most kitchens. It's the part you see from the dining table, the hallway and the couch.
Why stone on the wall changes how the kitchen reads
A tiled splashback adds a second material. Grout lines create a grid, and the grid competes with the veining in the benchtop. Your eye moves between the two.
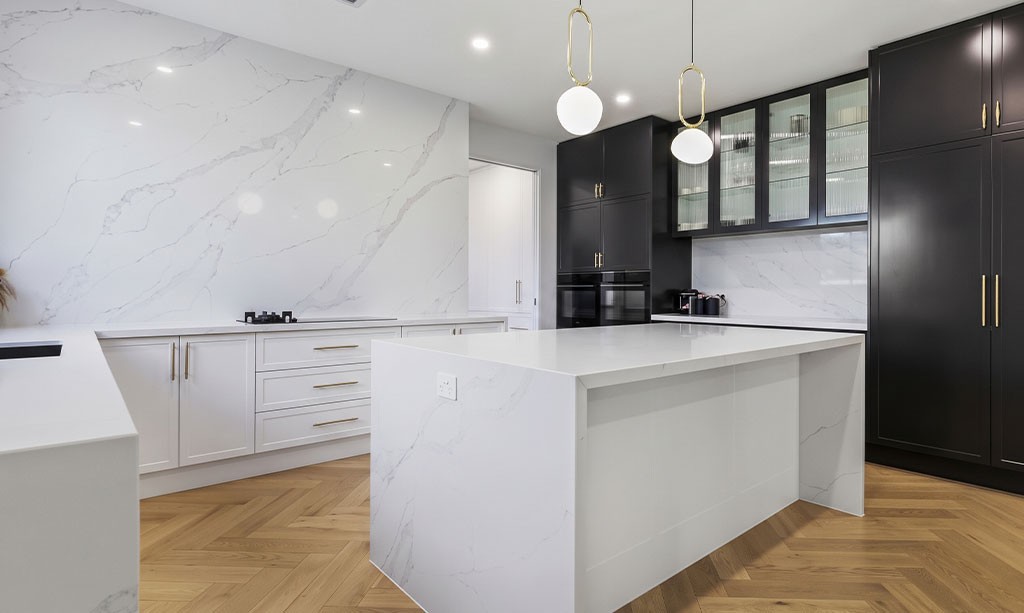
A full slab splashback removes that competition. The stone runs from the benchtop up to the rangehood or overhead cabinetry with few or no joins. The wall becomes a backdrop instead of a pattern.
This is a design principle called continuity. When a surface carries on without interruption, the room feels calmer and more deliberate. It's the same reason a waterfall end makes an island look carved rather than assembled.
Vein flow from bench to wall
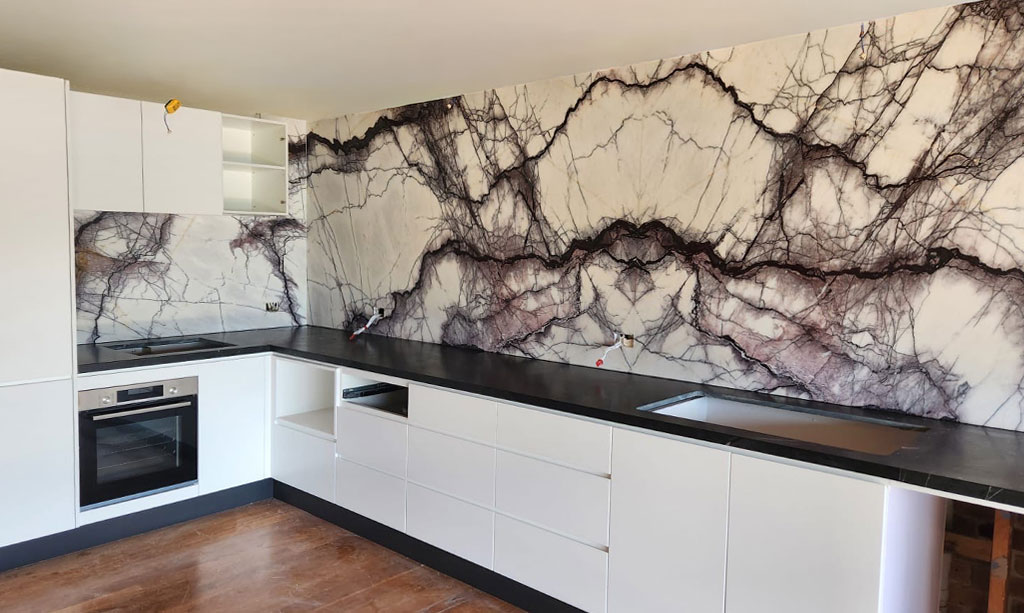
The real payoff is vein flow. When the splashback is cut from the same slab as the benchtop, the veins can carry up the wall in the direction they were already travelling. It looks like the stone folds at the back edge of the bench.
This only works if it's planned at slab selection, not on installation day. We lay the templates over the actual slabs and decide where each piece comes from before anything is cut. A strong vein might run up the centre of the wall. A quieter section might sit behind the sink, where you'd rather the eye rest.
If you choose a stone with long, directional movement, such as a Calacatta or a Patagonia, this planning matters even more. With a softer, cloudier stone, the effect is gentler, and the splashback reads more like a wash of colour.
How high should it go
Stopping at the underside of the overhead cabinets or rangehood is the standard approach. It frames the working zone and keeps slab usage sensible.
Running the stone to the ceiling, or to the top of a window, turns the wall into a feature. It works best when there are no overhead cabinets, which is increasingly common in open plan kitchens. The trade-off is more stone, larger pieces and usually more joins. In the Patagonia kitchen, the client chose a shorter splashback on purpose, so the dramatic stone didn't take over the whole wall.
Windows and sills
A window in the splashback wall changes the slab layout. The stone has to be cut around the window opening, and that usually means joins. A common approach is a join on each side of the window, or a piece above and below it. We plan where those joins fall so they line up with the window and look deliberate, and so the veining carries across them as cleanly as possible.
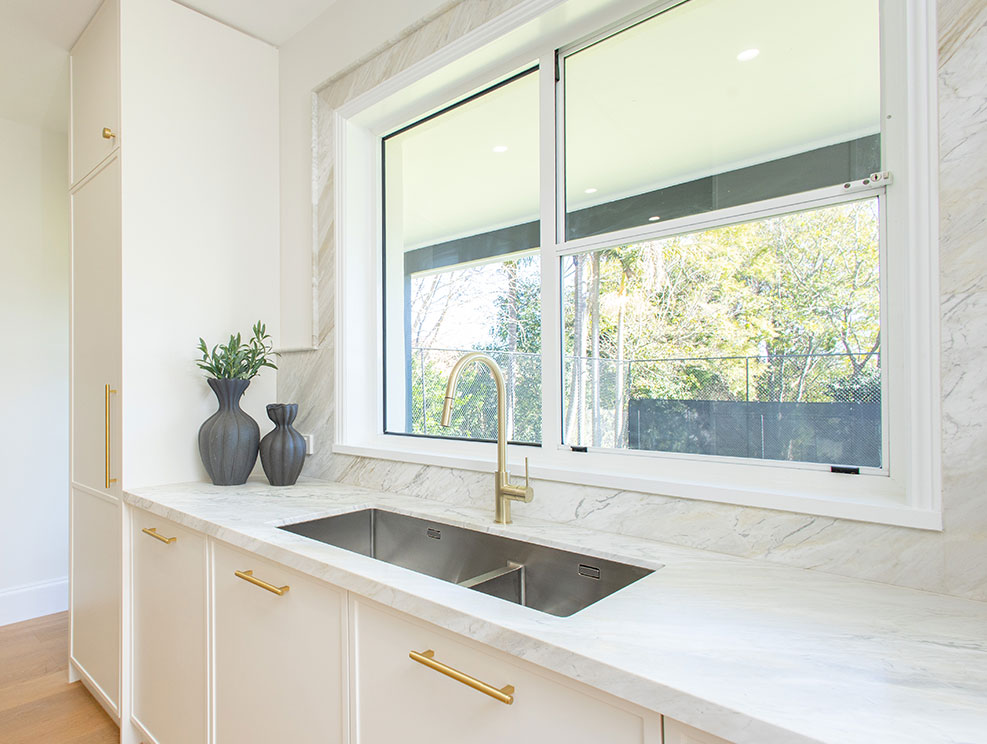
The window sill is part of the same decision. A stone sill can be butt joined to the splashback, where the two pieces meet square, or mitred, where both pieces are cut at 45 degrees so the corner reads as one fold of stone. A mitred sill looks more refined and carries the vein around the corner. A butt joined sill is simpler and costs less. Our edge profile guide explains how mitred details are formed.
Architraves
In some kitchens, the splashback runs up against door or window architraves. To get a neat fit, small notches or cuts sometimes need to be made in the architraves to accommodate the stone. It's a minor job, but it's worth knowing about early so your builder or carpenter can plan for it.
The ledge
A ledge is a narrow stone shelf at the top of a low splashback, partway up a tall one, or set into a window. It keeps oils and salt within reach and the bench clearer.
Like a sill, a ledge can be butt joined or mitred to the splashback. A mitred ledge looks folded out of the wall. A butt joined ledge is simpler and more affordable.
The design needs to be reviewed and understood before we cut. A ledge on the wall needs proper support behind it, so we confirm how it will be fixed and what it will hold. A ledge in a window works differently, sitting on the window reveal like a sill, so its depth and finish need to suit the window.

Splashback thickness and clearances
A stone splashback has thickness, and that thickness comes off the depth of your benchtop. It needs to be accounted for in the design, because it moves the wall closer to everything on the bench.
That affects the space behind the sink, the position of the tap, and the clearance between the cooktop and the wall. Every appliance has its own installation guidelines, including minimum clearances. The splashback thickness has to be included when checking them, so the sink, tap and cooktop all fit correctly and the install complies with the manufacturer's requirements.
Your joinery team should know you're having a stone splashback from the start, so they can allow for it in their design.
Power points
Stone splashbacks need every power point, switch and wall-mounted tap cut into the slab. Each one is planned before the template is made.
At quoting stage, let us know what type of power points you're using. A standard power point, a flush power point and a Zeta each need a different level of cutting and detailing in the stone. Some only need a simple cut-out. Others need the stone recessed or shaped so the fitting sits correctly. Knowing early means the quote reflects the real work.
This is also why the check measure matters so much. Your electrician should have power points positioned before we template. Moving a power point after the stone is cut means a new piece of stone.
A small tip: position power points so they don't land in the middle of your best vein. A switch plate sitting on the hero section of a Calacatta slab is a small thing you notice every day.
Getting large pieces into your home
A full slab splashback can be one very large piece of stone. That's beautiful on the wall, but it has to get there first.
Before we commit to a single large piece, we look at the route from the truck to the kitchen. Turning circles in hallways, narrow side entries, stairs, tight doorways and corners all affect what's possible. A piece that fits the wall perfectly but can't turn into the hallway isn't a practical piece.
In some homes, large pieces need extra lifting equipment or extra people to get them up and in. That can add to the cost. In others, the honest answer is a well-placed join, so the splashback arrives in two manageable pieces. We'd rather plan that join carefully than discover the problem on installation day.
Talk it through at quote stage
For splashbacks, the most useful thing you can do is talk through the details when you get your quote. Tell us about windows, sills, ledges, power point types, appliance positions and how we'll access the kitchen.
That conversation shapes how we review the slab layout and slab count. It decides whether the splashback can be one piece or needs joins, and makes sure the layout accommodates it either way. A quote that's based on a full conversation is a quote you can rely on.
Slab count and price
A full slab splashback usually adds stone to the job. Sometimes it fits within the slabs you've already bought, using the offcuts from the benchtop. Sometimes it needs another slab.
The fabrication also changes. There are more pieces to cut, more edges and mitres to finish, more cut-outs for power, and sometimes extra handling for large pieces. The price of a benchtop is driven mostly by slab count and fabrication time, so a splashback affects both.
If the stone is the reason you're renovating, the splashback is often where the money shows most. If the stone is a supporting player, tiles may be the smarter spend.
When tiles are the better call
Tiles aren't the lesser option. They're a different tool.
Choose tiles when the benchtop stone is very busy and you want somewhere for the eye to rest. A strongly veined Breccia or a bold Viola can be wonderful on the bench and too much on the wall as well.
Choose tiles when you want texture or colour the stone can't give you. A handmade glazed tile beside a quiet honed stone creates contrast in texture, which is often what makes a kitchen feel considered rather than matched.
Choose tiles when budget is tight and you'd rather put the money into a better benchtop slab. A beautiful bench with a simple tile beats an average bench with an average stone splashback every time.
A simple decision framework
Choose a full slab splashback if the stone is the reason you fell for the kitchen, you want vein flow from bench to wall, and you'd rather have a calm, continuous wall than a pattern.
Choose tiles if your benchtop stone is already doing a lot of work, you want a second texture or colour, or your budget is better spent on the benchtop itself.
If you're unsure, bring photos of the slabs you like to the showroom. Seeing a full slab standing upright, at wall height, usually settles it in about a minute.
The short version
A full slab splashback is the decision that turns a stone benchtop into a stone kitchen. Plan it at slab selection, tell us everything at quote stage, and position your power before the template. If you want help working through it, book a design consultation or start with our guide on how to choose your stone.
Frequently Asked Questions
Is a full slab splashback worth it?
If the stone is the hero of your kitchen, usually yes. A full slab splashback removes grout lines, lets the veining carry from benchtop to wall, and makes the whole design more cohesive. It adds stone and fabrication time, so it costs more than most tiles. If your stone is a supporting player, or very busy, tiles can be the better spend.
Does a stone splashback need joins around a window?
Usually, yes. The stone has to be cut around the window opening, so joins are common on each side, or above and below. We plan where they fall so they line up with the window and look deliberate. The sill can be butt joined to the splashback or mitred for a more refined corner.
Should a stone ledge or sill be mitred or butt joined?
Both work. A mitred ledge or sill looks like it has been folded out of the wall and carries the vein around the corner. A butt joined ledge or sill is simpler and more affordable. It's a design and budget decision worth making at quote stage.
Does the splashback thickness affect my sink, tap and cooktop?
Yes. A stone splashback takes depth off the benchtop and brings the wall closer to the sink, tap and cooktop. The thickness needs to be included when checking clearances, so everything fits and the install complies with each appliance's installation guidelines.
Does the type of power point matter for a stone splashback?
Yes. A standard power point, a flush power point and a Zeta each need a different level of cutting and detailing in the stone. Let us know which you're using at quoting stage, so the quote reflects the work involved.
Can a large splashback piece get into my home?
We check the route before committing to a large single piece. Hallway turning circles, side entries, stairs and tight doorways all affect what's possible. Some homes need extra lifting equipment, which can add cost. In others, a well-placed join is the better answer.
Is a stone splashback cut from the same slab as the benchtop?
Ideally, yes. Cutting both from the same slab or the same batch is what allows the veins to flow from the bench up the wall. We plan this at slab selection by laying the templates over the actual slabs before cutting anything.
Undermount vs Flush Mount vs Drop-In Sink for Stone Benchtops | Marble Hub
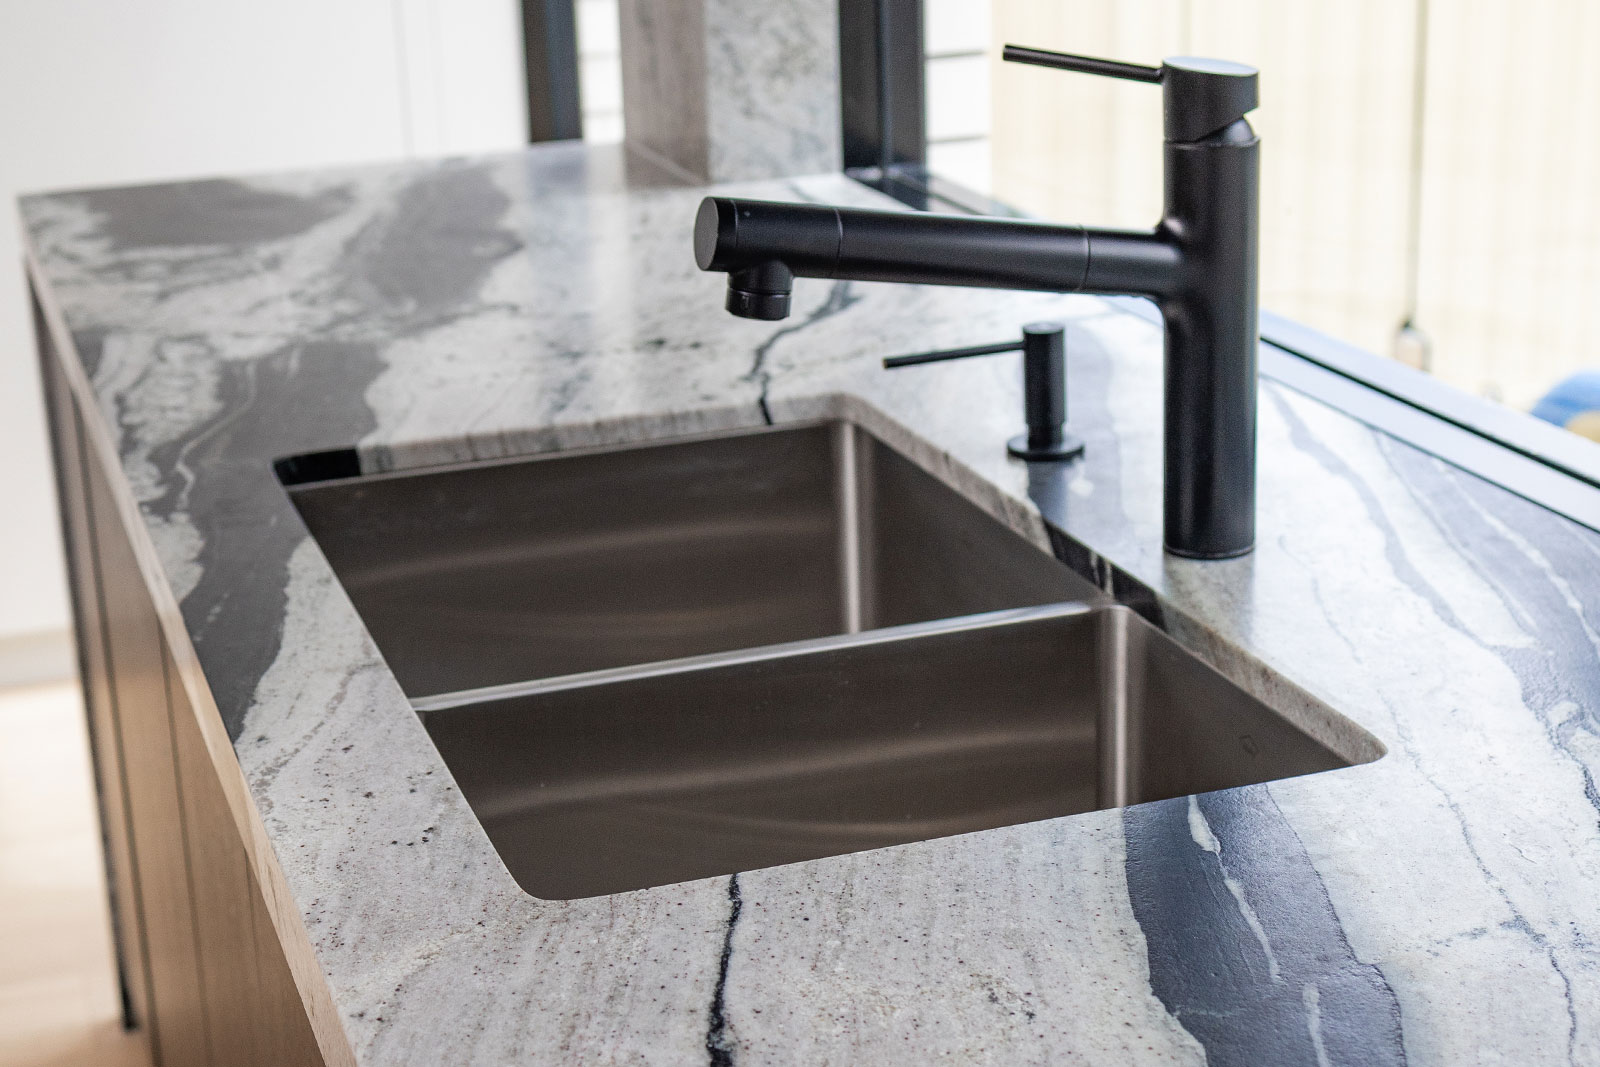
There's no wrong sink style for a stone benchtop, only the right one for how you'll use it. This guide explains the look, cost and maintenance of undermount, flush mount, drop-in and integrated stone sinks from a fabricator's point of view. Drop-in sinks work hard in busy kitchens, butler's pantries and utility laundries, while flush mount gives the sharpest look and needs the most planning. It also explains how Marble Hub reviews and supports every flush mount sink at the factory. Tags: undermount sink, flush mount sink, drop in sink, top mount sink, integrated stone sink, butler's pantry sink, laundry sink, sink cut-out, stone benchtop sink, kitchen sink styles, Sydney stone fabricator, Marble Hub
Undermount vs Flush Mount vs Drop-In Sink for Stone Benchtops | Marble Hub
Where to Start When You Don't Know the Stone in Your Inspo Photos
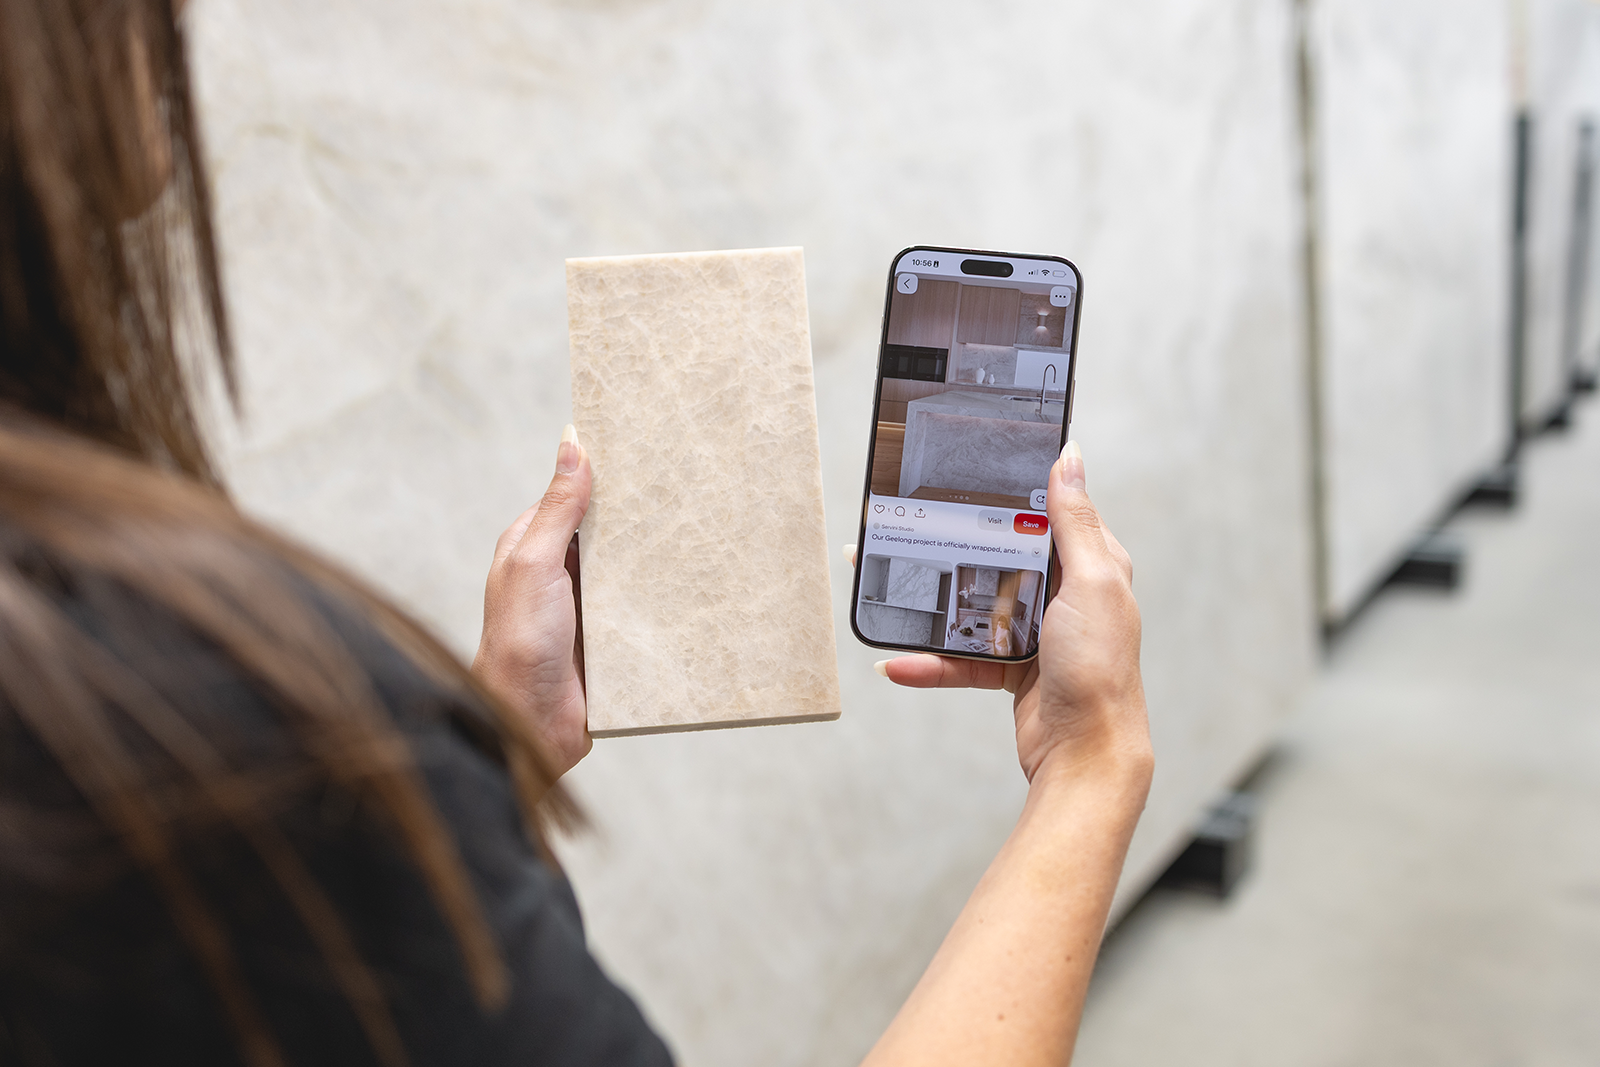
For homeowners who don't know where to begin with stone. You don't need a stone name to start. Send your inspiration photos, tell us what you like and why you're drawn to it, and we'll identify the material and point you to the right slabs. Covers how your eye already picks matching tones, reading stone from a photo, which photos to trust online, and why picking stone is like picking art. Tags: how to choose stone, where to start, inspo photos, identify marble from photo, stone selection, Marble Hub Sydney.
Where to Start When You Don't Know the Stone in Your Inspo Photos
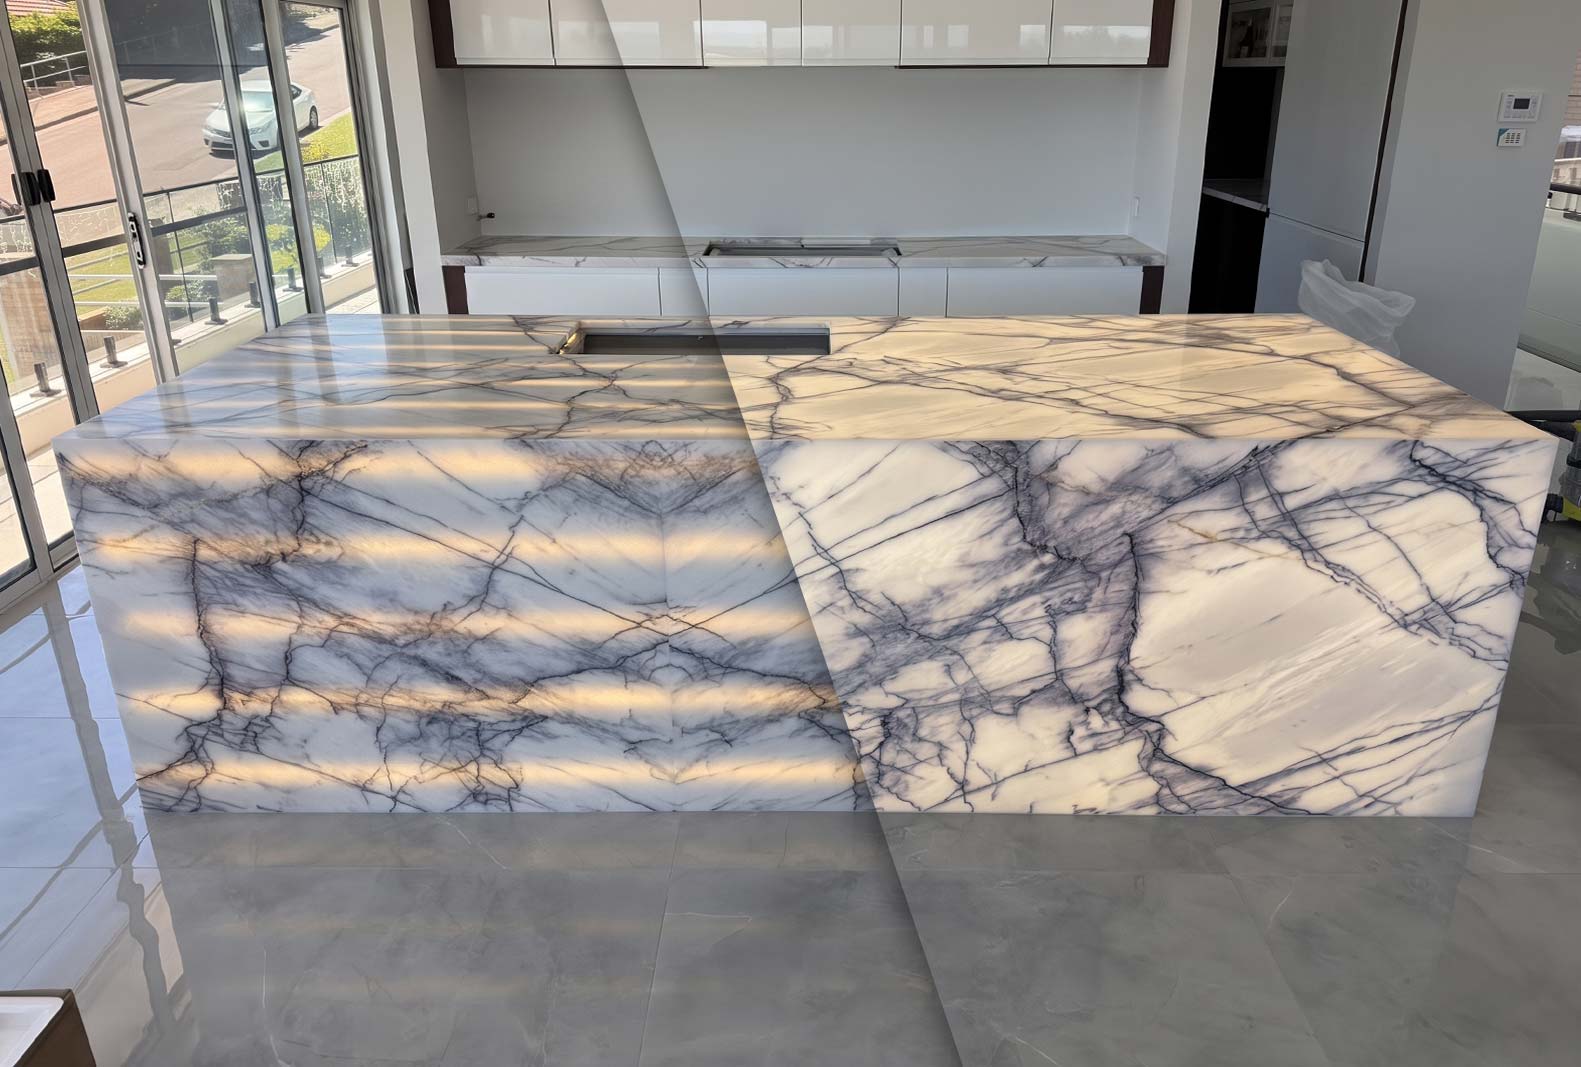
Backlit Stone and Why the LED You Choose Changes Everything
Backlit stone explained simply. The look changes a lot with the light behind the slab. LED strips give a striped, patterned glow; a full LED panel lights the whole slab evenly so it looks lit from within. Both are valid, so do what suits your budget, but plan it early with your electrician. Covers which stones are translucent and why the light install feeds into the check-measure. Tags: backlit stone, backlit marble, translucent stone, LED stone panel, backlit onyx, feature lighting, Marble Hub Sydney.
Backlit Stone and Why the LED You Choose Changes Everything
How We Plan Stone Across a Duplex Without Wasting a Slab
Planning stone across a duplex or dual-occupancy build. We work out real slab count, map every piece across the slabs, balance feature stone across both homes, and plan the stages so the check-measure and install land when each side is ready. Covers slab yield, offcut planning, mapping the cut to the stages, and getting every trade working to the same target dates. Tags: duplex stone benchtops, dual occupancy, slab count, stone yield, staged install, trade coordination, Marble Hub Strathfield South.
How We Plan Stone Across a Duplex Without Wasting a Slab
Let’s Get Started on Your Dream Space
Whether it’s a kitchen, bathroom, or laundry, Kitchen Hub is here to bring your vision to life.
